Programming/Springboot
[Springboot] springfox-swagger 3.0.0 example
bisi
2021. 3. 4. 13:07
swagger는 OpenAPI 스펙을 기준으로 문서화 하여 HTML 페이지를 자동으로 만들어주는 오픈소스 프레임워크다.
RESTful API 설계 및 문서화하여 공유가 필요할 때 자주 사용된다.
자세한 내용은 springfox document 홈페이지에서도 확인이 가능하다.
아래 간단한 예제를 통해 더 자세히 알아보자.
예제
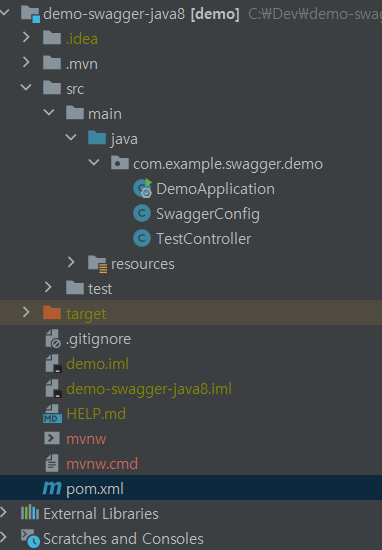
프로젝트 구성은 아래 그림과 같다.
라이브러리 추가
restful api와 swagger 적용을 위해 아래의 라이브러리를 추가해준다.
swagger관련 라이브러리는 3.0.0 버전으로 설정했다.
주의해야할 점은 2.x.x 버전은 swagger ui를 불러올 때, 사용하는 URL이 다르기 때문에, 버전은 꼭 확인이 필요하다.
-
pom.xml
....
      <dependency>
          <groupId>org.springframework.boot</groupId>
          <artifactId>spring-boot-starter-web</artifactId>
      </dependency>
....
      <dependency>
          <groupId>io.springfox</groupId>
          <artifactId>springfox-boot-starter</artifactId>
          <version>3.0.0</version>
      </dependency>
      <dependency>
          <groupId>io.springfox</groupId>
          <artifactId>springfox-swagger-ui</artifactId>
          <version>3.0.0</version>
      </dependency>

.....
간단한 코드 작성
스프링 프로젝트를 만들면 기본적으로 생성되는 ~Application.java 파일을 제외하고
SwaggerConfig.java , TestController.java 파일을 만든다.
- SwaggerConfig.java
package com.example.swagger.demo;


import org.springframework.context.annotation.Bean;
import org.springframework.context.annotation.Configuration;
import springfox.documentation.builders.ApiInfoBuilder;
import springfox.documentation.builders.PathSelectors;
import springfox.documentation.builders.RequestHandlerSelectors;
import springfox.documentation.service.ApiInfo;
import springfox.documentation.spi.DocumentationType;
import springfox.documentation.spring.web.plugins.Docket;
import springfox.documentation.swagger2.annotations.EnableSwagger2;

/**
 * The Class SwaggerConfig.
 */
@Configuration
@EnableSwagger2
public class SwaggerConfig {
    @Bean
    public Docket api(){
        return new Docket(DocumentationType.SWAGGER_2)
                .select()
                .apis(RequestHandlerSelectors.any())
                .paths(PathSelectors.any())
                .build().apiInfo(apiInfo());

    }

    private ApiInfo apiInfo() {
        String description = "Welcome Log Company";
        return new ApiInfoBuilder()
                .title("SWAGGER TEST")
                .description(description)
                .version("1.0")
                .build();
    }

}
- TestController.java
package com.example.swagger.demo;

import io.swagger.annotations.*;
import org.springframework.web.bind.annotation.GetMapping;
import org.springframework.web.bind.annotation.RequestParam;
import org.springframework.web.bind.annotation.RestController;

import java.util.HashMap;
import java.util.Map;

/**
 * The Class TestController
 */
@RestController
public class TestController {

    @GetMapping(value = "/hello")
    @ApiOperation(value = "hello, world api", notes = "hellow world swagger check")
    public String hellowWorld(){
        return "hello, world";
    }


    @ApiOperation(value = "test", notes = "테스트입니다")
    @ApiResponses({
            @ApiResponse(code = 200, message = "ok"),
            @ApiResponse(code = 404, message = "page not found!")
    })
    @GetMapping(value = "/board")
    public Map<String, String> selectBoard(@ApiParam(value = "샘플번호", required = true, example = "1")
                                           @RequestParam String no) {

        Map<String, String> result = new HashMap<>();
        result.put("test title", "테스트");
        result.put("test contents", "테스트 내용");
        return  result;
    }
}
RunTime 실행

Swagger UI 확인
버전마다 다른 점 주의하자!
다른 버전의 URL로 들어가면 White page error 가 발생하여 한참 해맬수 있다...
* Swagger 버전에 따른 URL 체크*
2.X.X : http://localhost:8080/swagger-ui.html
3.X.X : http://localhost:8080/swagger-ui/index.html
3.X 버전은 아래의 URL으로 실행한다.
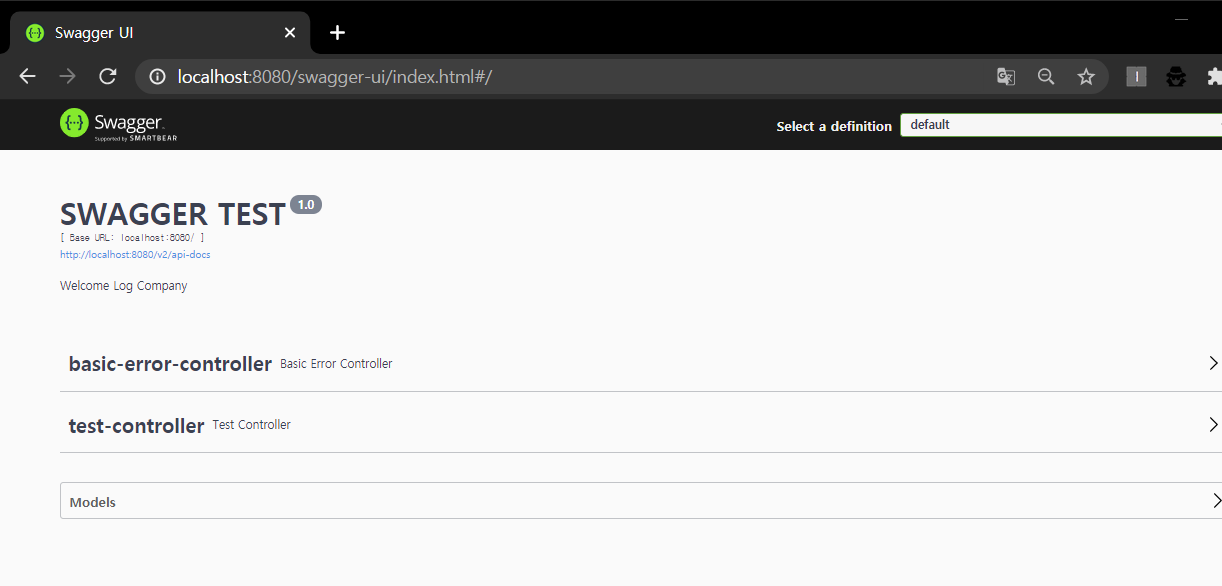
기본으로 생성되는 basic-error-conrtroller와 직접 코드로 구현한 test-controller를 확인할 수 있다.
- test-controller
